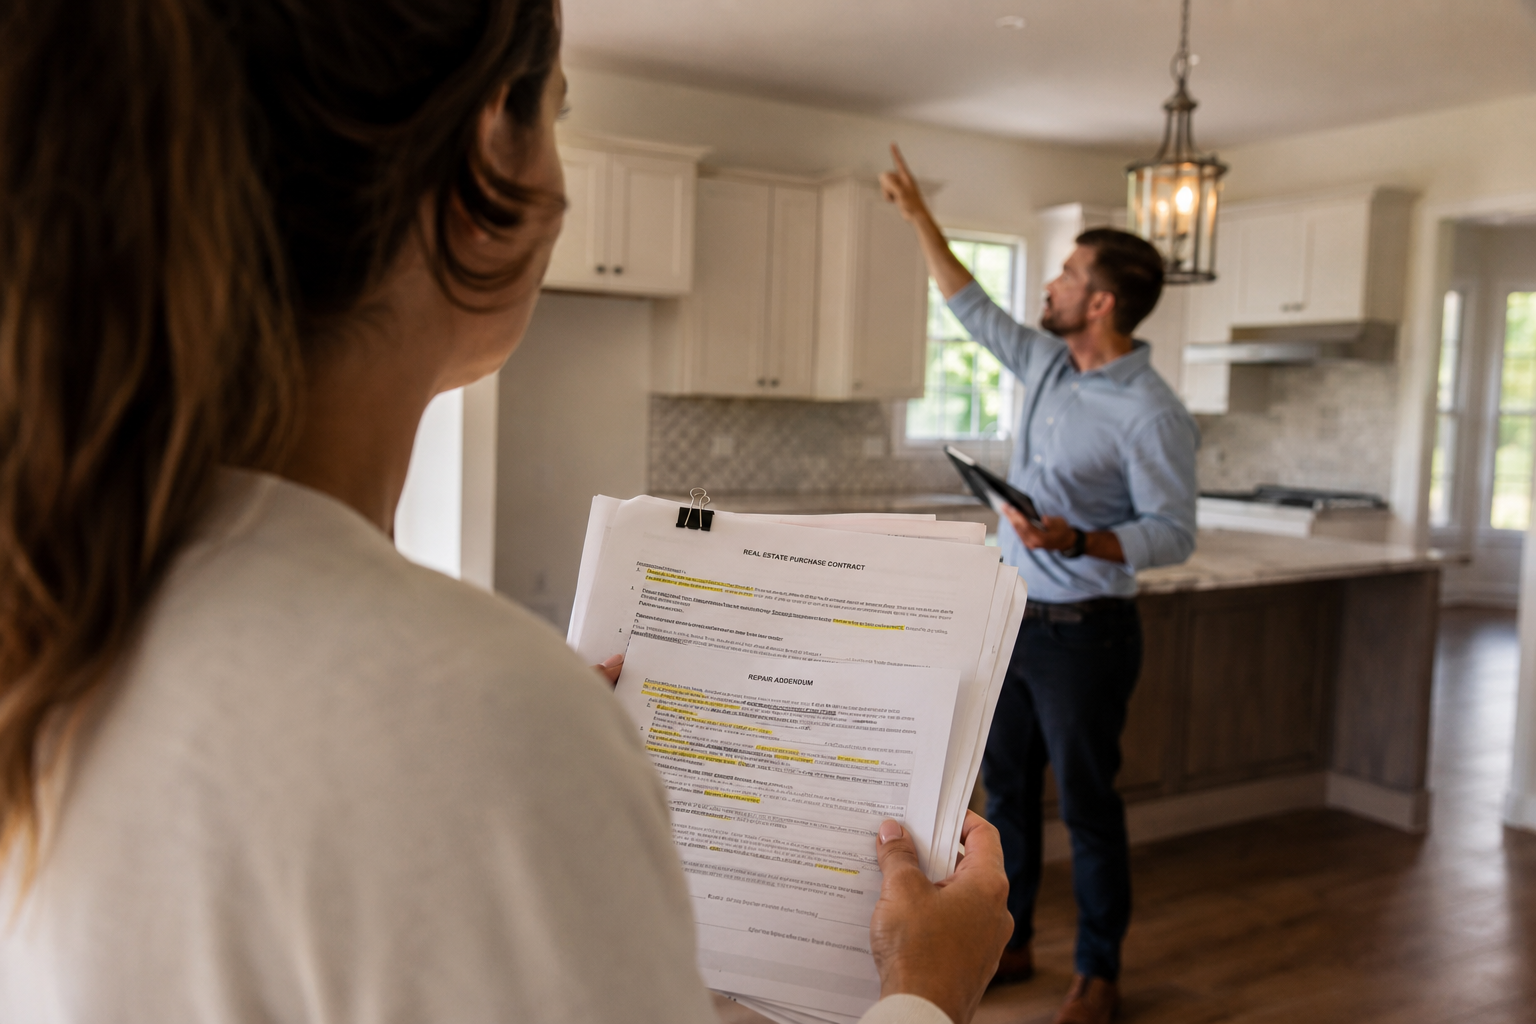
The final walkthrough is the last 30 minutes you’ll ever spend in the house before it legally becomes yours — and most buyers waste it wandering around imagining furniture. That’s a mistake, because this visit is your only chance to catch missing appliances, unfinished repairs, and damage from the seller’s move-out while someone else still has to pay for them. This final walkthrough before closing checklist covers exactly when to go, what to test in every room, and what to do the moment something’s wrong.
A final walkthrough is a 30–60 minute visit to the property, ideally 24–48 hours before closing, after the seller has moved out. You’re verifying three things: the home is in the same condition as when you signed the contract, all negotiated repairs were completed with documentation, and every item the contract says stays — appliances, fixtures, window coverings — is still there. It is not a second inspection, and problems found must be resolved before you sign.
Key takeaways
- Schedule the walkthrough 24–48 hours before closing, after the seller has fully moved out — never a week early, never the morning of signing.
- Bring your contract, the repair addendum, the inspection report, and a phone charger — the charger doubles as an outlet tester.
- Run every faucet, flush every toilet, test every appliance through a real cycle, and cycle both heating and cooling regardless of season.
- Ask for receipts and paid invoices for negotiated repairs — “we fixed it” without paperwork is not a completed repair.
- If you find a problem, do not close on a verbal promise; negotiate a credit, an escrow holdback, or a short delay in writing before you sign anything.
- Utilities must be on for the walkthrough to mean anything — confirm this with your agent two days ahead.
What a final walkthrough is — and what it is not
This section clears up the single biggest misunderstanding about walkthroughs: their legal purpose. The final walkthrough is a contractual verification visit, not an inspection, not a negotiation opener, and not a formality. In most US purchase contracts, a walkthrough clause gives the buyer the right to verify the property’s condition immediately before closing. What you’re checking traces directly back to the paperwork you already signed — which is why understanding how real estate purchase agreements work makes you dramatically better at this visit. The contract defines the home’s required condition; the walkthrough confirms reality matches it.

The book they should hand you with the keys
Everything in real estate finally explained like a friend would — 73 pages, 3 levels, from your first viewing to your first investment property. Read it once, keep it forever.
Instant download
Three specific things fall inside its scope. First, condition: the home should be in substantially the same state as when you went under contract, minus normal settling. A wall the movers gouged last Tuesday is the seller’s problem. Second, repairs: anything the seller agreed to fix after the inspection must be done — and done properly, not patched with caulk and optimism. Third, inclusions: the refrigerator, the washer and dryer, the curtain rods, the garage remotes — whatever the contract lists as staying must physically be there.
What falls outside its scope matters just as much. You cannot use the walkthrough to reopen negotiations over defects you already knew about, or to demand fixes for issues the inspection flagged but you never negotiated. A cracked driveway you saw in March is your driveway now. New damage, missing items, and incomplete agreed repairs — that’s the entire menu. Buyers who treat the walkthrough as inspection round two lose credibility exactly when they need leverage.
When to schedule your final walkthrough before closing — and who should come

Timing decides how useful your walkthrough is, and the sweet spot is 24 to 48 hours before closing. Any earlier and you create a gap where new damage can happen after your visit — the seller’s moving crew dragging a piano down the stairs on the day between your walkthrough and closing is a genuine, recurring horror story. Any later, like the morning of closing, and you have zero time to resolve problems without delaying a signing that involves wired funds, a locked interest rate, and possibly a moving truck idling at the curb.
The seller should be gone. A walkthrough with the seller’s boxes stacked in the garage and their couch against the wall is close to worthless — furniture hides floor damage, boxes hide wall damage, and an occupied house can’t show you what an empty one will. If the contract allows the seller to remain (a rent-back arrangement, covered below), the rules shift; otherwise, insist the property be vacant and broom-clean, which most contracts require.
Bring your agent — this is one of the visits where a good one earns their commission, because they’ve seen fifty of these and know that a faint ceiling stain means “check the bathroom above.” If your agent has been passive all transaction, that’s worth remembering for next time; here’s how to find a realtor you can trust. Bring the purchase contract, the repair addendum, the inspection report for reference, your phone (camera, flashlight, and charger for testing outlets), and this checklist. Total time: 30–60 minutes for a typical home. Rushing it to 10 minutes is how buyers inherit the seller’s problems.
Stop googling one term at a time. Understand the whole thing.
Articles answer one question. Real Estate, Made Readable answers the next fifty — 73 pages that walk you from total beginner to confident decision-maker, in plain English.
- Buying, selling, renting & investing — all in one place
- Every term explained the first time it appears
- Diagrams, worked examples & decision cheat-sheets
Instant PDF download
The room-by-room final walkthrough checklist
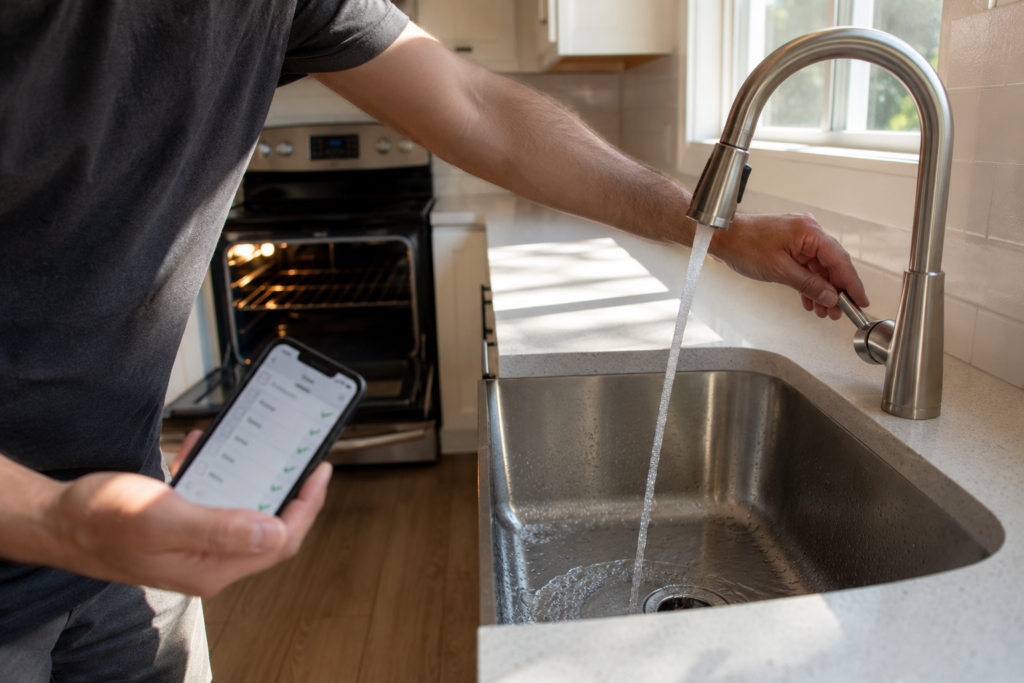
Here’s the systematic route to take through the house, with what to test and the red flag that should stop you in each area. Work top to bottom, exterior last, and photograph anything questionable with your phone’s timestamp on.
One habit that makes this checklist twice as effective: compare what you’re seeing against what the seller formally told you about the property at the start. Sellers document known defects in writing, and a walkthrough discovery that contradicts those statements carries real legal weight — our guide on how to interpret property disclosure statements explains what sellers must reveal and what a mismatch means for you.
Verifying repairs and inclusions: paperwork beats promises
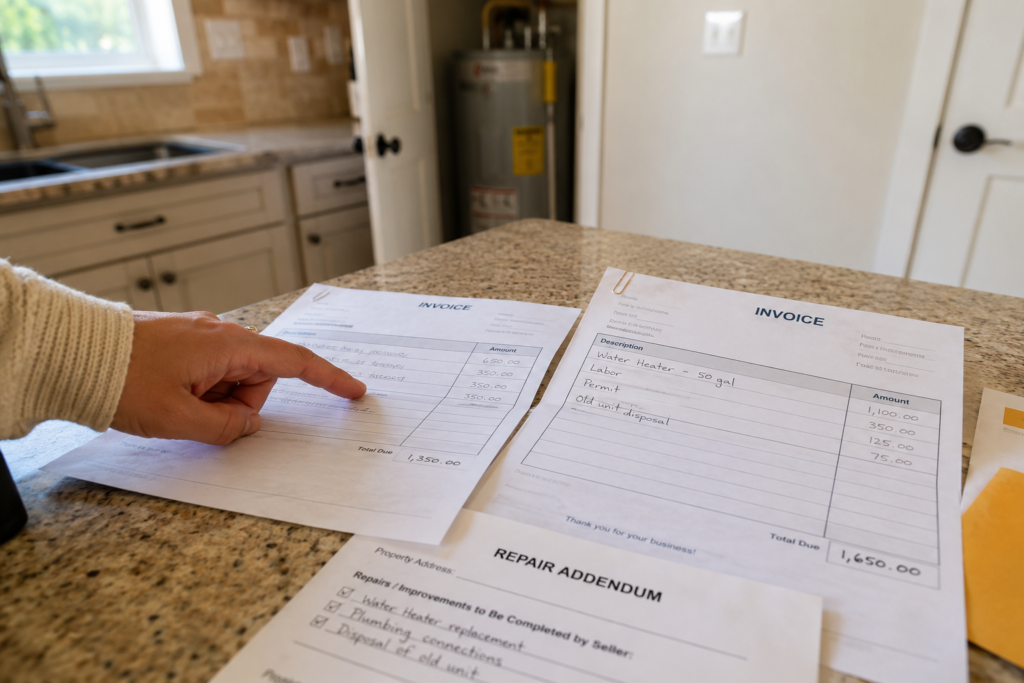
Negotiated repairs deserve their own stop on the walkthrough, because “the seller says it’s fixed” and “the repair is done” are different sentences. For every item on your repair addendum, you want two things: visual confirmation and documentation. Visual confirmation means you look at the repair yourself — the new water heater is physically installed, the roof patch exists, the GFCI outlets actually trip when tested. Documentation means paid invoices or receipts from the contractor who did the work, which your agent should request before the walkthrough so they’re waiting for you.
Why the paperwork obsession? Because a receipt tells you three things a glance can’t: who did the work (a licensed plumber or the seller’s brother-in-law), what exactly was done (full replacement or cosmetic patch), and whether there’s a warranty that transfers to you. For significant repairs — roof, electrical, sewer line — a licensed contractor’s invoice is the difference between a resolved problem and a repainted one. If the seller did the work themselves, you’re entitled to be more skeptical, and for anything safety-related you can reasonably ask for a re-inspection of just that item, which typically costs $100–$150.
Inclusions are simpler but sloppier in practice. Pull out the contract’s inclusion list and physically verify each item: kitchen appliances, washer and dryer, window treatments, light fixtures, mounted shelving, hot tub, playset, garage remotes, mailbox keys. The classic move-out casualties are the nice light fixture in the dining room (swapped for a builder-grade one), the curtain rods, and the second garage remote. None of these is individually catastrophic — a missing fridge is a $1,500 problem, a missing remote is $40 — but they’re only free to fix while the seller still needs your signature.
Nobody is born knowing what escrow means. The people who seem confident just got a calmer explanation than you did.
That's the whole idea behind our field guide — 73 pages that explain buying, selling, renting, and investing the way a patient friend would. This article is one piece of the picture. The book is the picture.
Found a problem at the walkthrough? Your four options, in order

This is the section to reread if your walkthrough goes badly, because your leverage is real but it expires the moment you sign. Whatever you find — a flooded basement, a missing dishwasher, an unfinished repair — the response sequence is the same: document it (photos and video with timestamps), notify your agent immediately, and put every proposed resolution in writing. Verbal promises at the walkthrough have a strange way of evaporating after the deed records. Then choose from four escalating options.
Option one: a closing credit. For most problems, this is the cleanest fix. The seller credits you money at closing — the numbers simply change on the settlement statement — and you handle the repair yourself with a contractor you choose. A missing appliance, mover damage to a wall, or an unfinished minor repair are all classic credit territory. Get two quick contractor estimates by phone if you can, so the credit reflects reality rather than the seller’s optimism.
Option two: an escrow holdback. For bigger or unquantified problems, the title company holds back part of the seller’s proceeds — often 1.5 times the estimated repair cost — until the work is completed or the true cost is known. This lets you close on schedule while keeping financial pressure on the seller. Holdbacks need lender approval and title company cooperation, so raise the idea within hours, not days.
Option three: delay the closing. If the problem is serious enough that you can’t price it — say, water pouring from a ceiling — a short mutual extension gives time for a proper assessment. Delays have real costs: rate lock extensions, moving logistics, and a seller who may resist. But signing for a house with an unpriced major defect is worse. Option four: refuse to close. This is the nuclear option and depends entirely on your contract’s language about property condition at closing; it risks your earnest money and possibly litigation, so it’s a conversation with a real estate attorney, not a decision made in the driveway. The Consumer Financial Protection Bureau’s closing resources are worth reviewing before signing day so you understand the machinery you’d be stopping.
Special walkthrough situations: new construction, rent-backs, and buying remotely

Three scenarios change the standard playbook enough to deserve their own rules. New construction replaces the walkthrough with a “blue tape” walk: you and the builder’s rep tour the finished home and you mark every defect — scratched glass, chipped tile, paint misses — with blue painter’s tape, and the punch list becomes a written commitment. Be pickier than feels polite; builders fix taped items and forget mentioned ones. Insist on a completed punch list before closing where possible, because a builder’s urgency also drops sharply once they’re paid.
Seller rent-backs — where the seller stays in the home for days or weeks after closing — break the normal logic, since the house can’t be empty at your walkthrough. The fix is two-fold: do your standard walkthrough anyway (documenting condition around the seller’s belongings as best you can), and make sure the rent-back agreement includes a deposit held in escrow plus a second condition check when the seller actually vacates. Skipping that second check is how buyers discover the seller’s dog and the seller’s forwarding address in the same week.
Remote purchases put your agent’s diligence center stage. If you can’t attend, your agent does the full checklist on a live video call with you — not a recorded highlight reel — running the taps and cycling the HVAC on camera while you direct. It’s imperfect, but a directed live video walkthrough catches most of what an in-person visit would. First-time buyers doing all of this for the first time should also skim the top 10 mistakes first-time homebuyers make — several of them cluster in exactly this final week.
Common mistakes buyers make at the final walkthrough
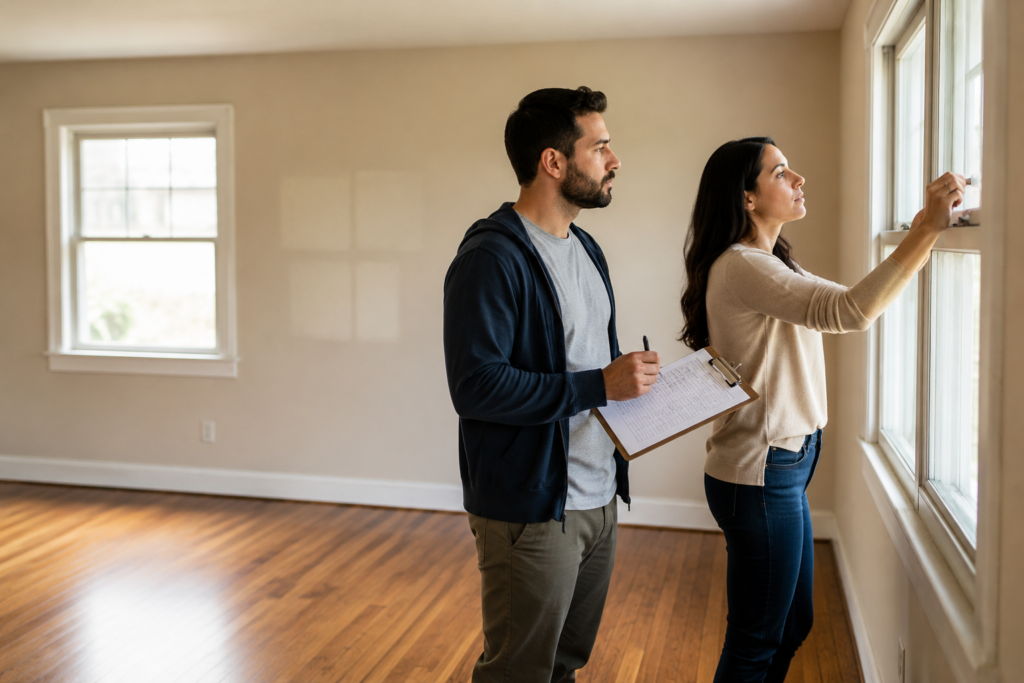
1. Doing the walkthrough while the seller’s belongings are still inside
A sofa hides floor damage. Boxes hide wall gouges. A packed garage hides the fact that it leaks. Buyers agree to early walkthroughs to be accommodating, then inherit whatever the furniture was covering. Unless a rent-back is contractually in play, the standard is vacant and broom-clean — hold the line, even if it means the walkthrough happens the evening before closing.
2. Accepting “we fixed it” without receipts
Intermediate buyers check that the repair looks done; experienced buyers check who did it and whether it’s documented. A roof “repair” with no invoice might be roofing cement applied by flashlight. Request paid invoices for every negotiated repair before walkthrough day, and for safety items, spend the $100–$150 on a re-inspection of just that repair. It’s the cheapest due diligence in the transaction.
3. Testing nothing because the house “looks fine”
Looking is not testing. A water heater that died last week looks identical to a working one; so does a dead outlet, a broken burner, and an AC with a failed compressor. The entire value of the walkthrough is in running things: every faucet, every appliance cycle, both HVAC modes, a sample of outlets per room. Thirty minutes of switch-flipping is worth more than two hours of admiring the light in the kitchen.
4. Solving walkthrough problems with a handshake
The seller, at the walkthrough, says they’ll “take care of” the broken gate next week. They will not. After funding, their incentive to spend money on your house is zero, and your recourse is small-claims court over a $600 gate. Every resolution — credit, holdback, repair promise — goes into a signed amendment before closing. If it’s not worth writing down, it wasn’t a real promise.
5. Skipping the walkthrough entirely to save time
Some buyers waive the walkthrough because the closing is rushed, the house is far away, or everything went smoothly so far. This trades your last moment of leverage for a saved hour. Between your last visit and closing, the seller moved every heavy object they own through your future doorways and decided what “conveys” really means. If you truly cannot attend, send your agent with a live video call — never simply waive it.
FAQ: final walkthrough before closing
How long does a final walkthrough take?
Plan on 30–60 minutes for a typical single-family home — enough to run every faucet and appliance, cycle the HVAC, test outlets, and walk each room now that it’s empty. Larger homes, homes with negotiated repairs to verify, or new construction blue-tape walks can take 90 minutes or more. Rushing it defeats the purpose.
Stop googling one term at a time. Understand the whole thing.
Articles answer one question. Real Estate, Made Readable answers the next fifty — 73 pages that walk you from total beginner to confident decision-maker, in plain English.
- Buying, selling, renting & investing — all in one place
- Every term explained the first time it appears
- Diagrams, worked examples & decision cheat-sheets
Instant PDF download
Can I back out of buying a house after the final walkthrough?
Only in limited situations. If the walkthrough reveals the home isn’t in the condition the contract requires — major new damage or incomplete agreed repairs — you may have grounds to delay or, in serious cases, terminate. Backing out over minor issues or cold feet risks losing your earnest money. Serious problems at this stage call for a real estate attorney before you sign or walk.
Is the final walkthrough required by law?
No — it’s a contractual right, not a legal requirement, and technically you can waive it. You shouldn’t. It costs nothing, takes under an hour, and is your only chance to catch problems while the seller still needs your signature. Standard purchase contracts in most states include a walkthrough or “verification of condition” clause by default.
What if the seller hasn’t moved out at the final walkthrough?
Stop and call your agent. Unless you agreed to a rent-back, most contracts require the seller to deliver the home vacant at closing. A seller still packing on walkthrough day is a red flag for a delayed possession fight. Options include delaying closing, negotiating a formal rent-back with an escrow deposit, or a per-day penalty — all in writing.
Who attends the final walkthrough?
Typically the buyer and the buyer’s agent — that’s it. The seller should not be present (and shouldn’t want to be), though the seller’s agent occasionally attends for repair handoffs. You can bring a contractor or your inspector to re-check a specific negotiated repair, which is money well spent for roof, electrical, or plumbing work.
What should I bring to the final walkthrough?
Bring the purchase contract with the inclusion list, the repair addendum, the original inspection report, your phone for timestamped photos and video, a phone charger to test outlets, and a flashlight for cabinets, basements, and attics. Some buyers bring a small outlet tester — under $10 at any hardware store and faster than the charger trick.
The last hour of leverage you’ll ever have in this deal
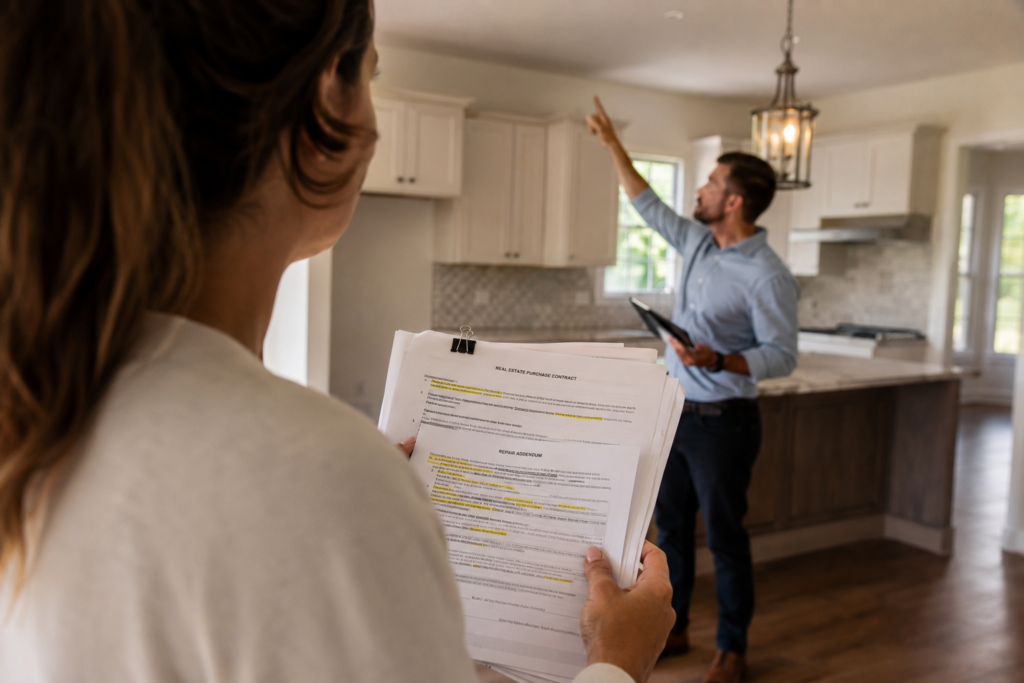
If this final walkthrough before closing checklist leaves you with one habit, make it this: test, don’t look — and put every problem in writing before you sign, because your leverage ends at the settlement table. The walkthrough is the final checkpoint in the longer journey from accepted offer to keys, so if you’re earlier in that process, our week-by-week guide to what happens after your offer is accepted maps everything that leads up to this moment. And once the keys are yours, the spending isn’t over — read up on the hidden costs of homeownership before the first year surprises you, and keep our first-time homebuyer guides close as you settle in.

Free guide
Confused by real estate? Get the plain-English guide.
Buying, selling, investing & the legal basics — explained simply in 20 pages. Free, straight to your inbox.
No spam. Unsubscribe anytime.